Results vary widely. Printer model, envelope flap style, coating, and lining all change how the paper feeds and how ink sits on the surface. What works for twenty wedding invitations on a home inkjet is a different problem entirely than addressing five hundred business mailers on a deadline.
This guide covers the exact sequence that gets A7 envelopes printing correctly, the settings that matter most, the mistakes that waste the most stock, and when it's time to move past a home printer.
Key Takeaways
- Match A7 size (5.25" x 7.25") in both your document and printer driver
- Use landscape, short-edge-first feed, and the Envelope media type for reliable runs
- Batch-address large lists fastest with Word Mail Merge and an Excel file
- Desktop printers hit jams, smudging, and slow speeds at thousands of pieces per month
- Test on scrap paper cut to size before running your actual envelopes
How to Print A7 Envelopes at Home
Home printing works well for invitations, announcements, and small batches when you set document size, printer driver, and feed path correctly. Work through the steps below in order before you load real stock.

Step 1: Prepare Your Design and Address List
Measure the envelope with the flap closed to confirm it's the standard A7 announcement size of 5.25 x 7.25 inches. Set your document to that exact custom size in landscape orientation before adding any text or graphics.
If you're batch printing, build your address list in Excel first:
- Create separate columns for Name, Address, City, State, and ZIP
- Format the Zip column as text so leading zeros don't disappear
- Keep all data on the first worksheet since Word's mail merge only reads that sheet
Step 2: Set Up the Address Block or Design Elements
For single envelopes, use Word's built-in tool: Mailings > Envelopes, then choose Custom size and enter your dimensions. Add text boxes only if you need fonts or a layout beyond the standard address block.
Leave clear space for a postage stamp and return address so nothing collides with postal clear zones.
For multiple recipients, run a mail merge instead. Go to Mailings > Start Mail Merge > Envelopes, select your saved Excel list under Select Recipients, then insert an Address Block field.
Follow Microsoft's mail merge instructions carefully — a mismatched merge field is one of the most common reasons addresses print in the wrong spot.
Step 3: Configure the Printer Driver for Custom Size
This is the step most people skip, and it causes the most wasted envelopes. Open your printer's properties or preferences panel, find the custom paper size option, and enter 5.25 x 7.25 inches exactly. Save it as a named preset so you don't have to re-enter it every time.
While you're there, change the Media Type or Paper Type setting to Envelope. This tells the printer to adjust roller pressure and drying behavior for thicker stock, rather than treating it like standard copy paper.
Step 4: Load the Envelopes Correctly
Load envelopes short-edge first, or according to whatever direction your printer's tray icon shows (this varies by brand and even by model). The flap should be closed and pointed in the direction your printer manual specifies. Slide the paper guides snug against the edges without forcing them.
If your printer has a manual or rear feed tray, use it. A straighter paper path means less curling and fewer jams on thicker envelope stock.
Step 5: Test Print, Then Run the Full Batch
Print one test envelope, or a scrap sheet cut to the same size, before committing real stock. Check alignment, orientation, and how the ink dries on the surface.
Once that test looks right, feed envelopes in small batches of 10 to 25 and watch the first few prints closely. Settings that worked on the test can still drift once you're running a full stack.
Key Printer Settings That Affect A7 Envelope Print Quality
Five settings decide whether an A7 envelope prints cleanly or comes out cropped, smudged, or jammed.
| Setting | Why It Matters | Impact If Wrong |
|---|---|---|
| Custom paper size | Document size and driver paper setting must match exactly | Mismatch is the most common cause of cropped text or an off-center address block |
| Media/paper type | "Envelope" widens the printhead gap and adjusts drying time for thicker, coated stock | Skipping it invites smudging, bleed, or jams, especially on textured or metallic finishes |
| Orientation and flap direction | Most printers feed short-edge first, and flap direction sets which side prints face up | Getting it backward prints upside down, mirrored, or on the wrong surface |
| Ink type | Pigment-based inks resist smudging and moisture better than dye-based inks | Dye ink on dark or metallic envelopes often turns illegible after handling |
| Print quality/resolution | Uncoated or textured stock absorbs ink differently than plain paper | Higher DPI and slower speed reduce ink pooling and sharpen text on porous surfaces |
Why Paper Size Accuracy Comes First
Printer manufacturer documentation on paper mismatch errors confirms what most people learn the hard way: when the job size doesn't match the paper loaded and selected in the driver, the printer either throws an error or defaults back to a standard size like 8.5 x 11 inches. That default is what crops your design.
Set the custom size in both the document and the driver before you print anything.
Ink Type Isn't a Driver Setting
Ink type is fixed by the printer's hardware, not something you toggle mid-job. If you're printing on dark, glossy, or metallic A7 envelopes, choose a printer with pigment ink up front—you can't work around dye ink after the fact.
Common Mistakes and Troubleshooting Tips
Most A7 envelope problems trace back to a handful of avoidable errors.
Common mistakes to avoid:
- Skipping the custom paper size step in the printer driver, which defaults back to 8.5 x 11 inches and crops the design
- Running a full batch without a test print first, wasting envelopes on errors one test would have caught
- Using default dye-based ink settings on dark or metallic envelopes, where text becomes hard to read once dry
Quick troubleshooting fixes:
| Problem | Likely Cause | Fix |
|---|---|---|
| Text cut off or misaligned | Document size doesn't match the driver's paper size | Recheck both settings; they need to match exactly, not approximately |
| Envelope jams or gets rejected | Batch too large, wrong feed direction, or flap misaligned | Switch to manual feed, reduce batch size, confirm flap orientation |
| Ink smudges or bleeds | Media type isn't set to Envelope or Heavy Paper | Change the media type and let printed envelopes dry fully before stacking |
When Home Printing Isn't Enough: Scaling Up A7 Envelope Production
For occasional runs—a wedding, a small event, a few hundred pieces—home or office printing is still the most practical choice. Cost per envelope and setup time barely matter at that scale.
The math changes once volume climbs into the thousands per month. Home printers weren't built for that kind of run:
- Many models feed one envelope at a time, turning a 2,000-piece job into hours of babysitting
- Ink cost per piece climbs fast when you're running retail cartridges instead of bulk supply
- Jams and misfeeds multiply with every additional hundred pieces
- Operator time spent monitoring the printer adds up to real labor cost
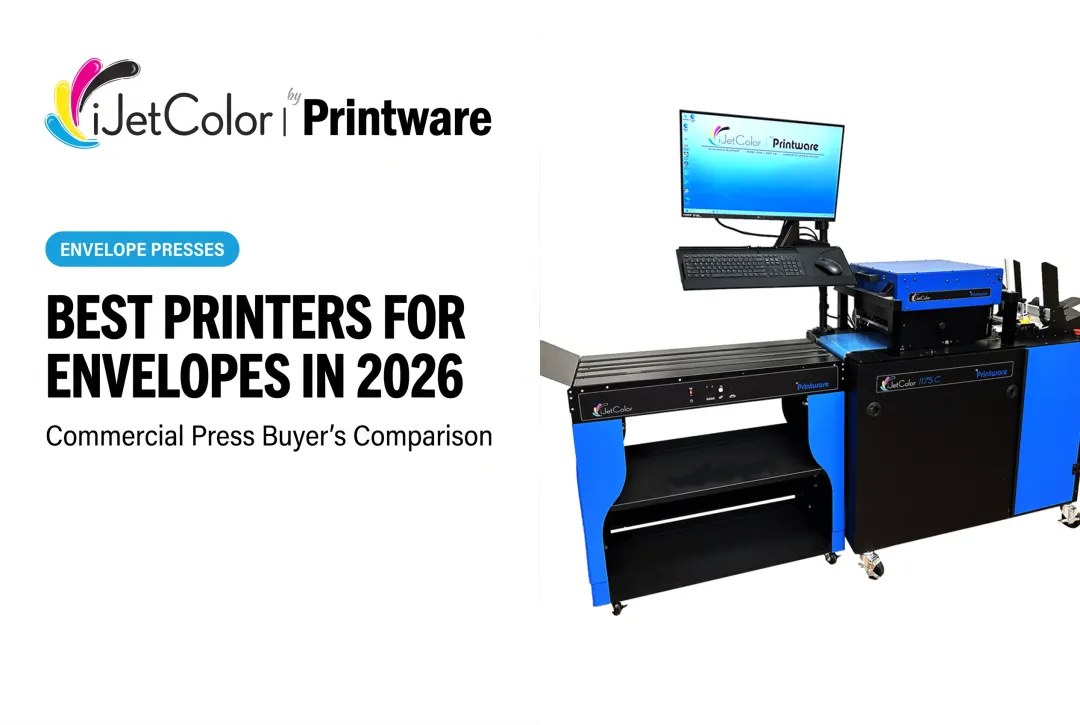
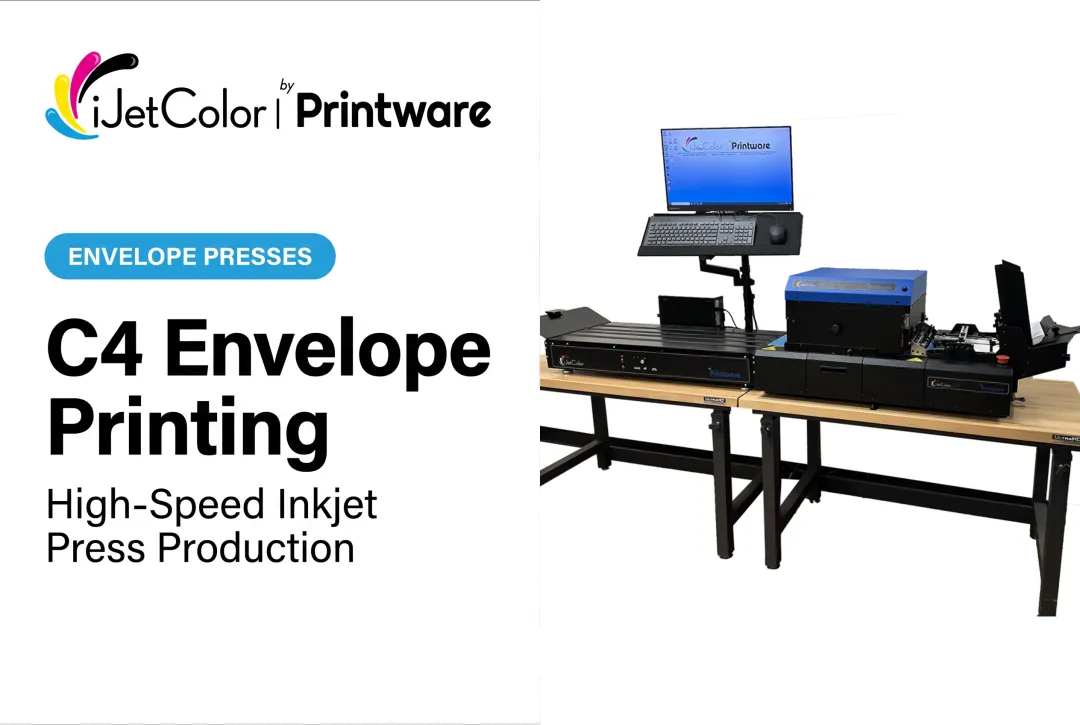
This is where commercial print shops and mailing operations typically move to dedicated inkjet envelope presses. Printware's entry-level HP iJetColor 1175 press, for example, prints full-color, full-bleed designs directly onto envelopes at up to 7,000 pieces per hour. Higher-volume models like the 1175C and the 1175 Pro + PXG run past 10,000 pieces per hour, and the 1275 Pro tops out at up to 20,000 #10 envelopes per hour.
These presses use pigment-based HP ink that is water, fade and scratch resistant—durability a standard home inkjet cartridge simply isn't built for.

Moving to a dedicated press changes more than speed:
- In-house production is faster and more profitable for short-run envelope production than offset, outsourcing, or toner
- Variable data personalization (different names, addresses, or offers on every piece) runs as part of the same job, not a separate manual step
- Setup between jobs takes minutes, not the hours a large batch takes on a home printer
Before upgrading, run the numbers on your own operation:
- Estimate current and projected monthly volume—what you print today and where volume is headed in a year
- Factor in turnaround requirements—same-day requests behave differently than scheduled monthly mailings
- Compare in-house costs against what you currently pay to outsource, including ink, labor, and downtime
For a shop doing a few hundred envelopes a month, none of this changes anything. For one doing several thousand, the math flips fast.
Conclusion
Printing A7 envelopes at home comes down to three things: matching the custom size in both your document and printer driver, selecting the correct media type, and testing before you commit a full batch.
Most jams and misprints trace back to one of two culprits: a skipped custom-size step or the wrong media setting—not a defective printer. Fix those two things and the rest of the process falls into place.
Home printing suits occasional invitations and small event mailings just fine. Once volume grows past what a manual feed tray can reasonably handle, dedicated envelope printing equipment becomes the more practical option for speed, consistency, and cost per piece.
Frequently Asked Questions
What printer can print A7 envelopes?
Most modern inkjet and laser all-in-ones support A7 as long as they allow custom paper sizes and have a manual or rear feed tray for thicker media. Check your specific model's manual before buying stock in bulk. For production runs, a dedicated envelope press such as the HP iJetColor 1175 handles A7 stock at full speed.
What is the printing size of an A7 envelope?
The standard A7 envelope measures 5 1/4 x 7 1/4 inches (5.25" x 7.25"), sized to fit 5x7 invitations, photos, and note cards with a small margin for insertion.
Why does my printer keep jamming or refusing to print A7 envelopes?
The usual causes are an overloaded tray, the wrong media type setting, or feeding the envelope in the wrong direction. Try the manual feed tray with a smaller batch and double-check flap orientation against your printer's manual.
Can I use mail merge to print multiple A7 envelopes at once?
Yes. Word's Mail Merge feature, found under Mailings > Start Mail Merge > Envelopes, links directly to an Excel address list and automates batch addressing for large mailing runs.
What paper weight or material works best for printing on A7 envelopes?
Smooth, printer-friendly stock works best; exact weight ranges vary by model, so check your manual. Textured or metallic finishes may need print quality settings adjusted.
How many A7 envelopes can a home printer handle before I should consider a commercial solution?
Home printers work well for occasional runs up to a few hundred envelopes. Businesses producing thousands per month typically need dedicated high-speed inkjet envelope presses for better speed and lower cost per piece.